

You know how to use the software. Explaining it on video is the part that feels difficult. An AI screen recorder can help you capture your screen, turn your speech into captions, and clean up a recording without learning a complicated editing timeline.
Start with one task your viewer wants to complete. A short, clear walkthrough will usually help them more than a polished video that tries to explain every feature. Here’s how to make that first tutorial, then choose a tool that fits your budget.
What an AI Screen Recorder Actually Does
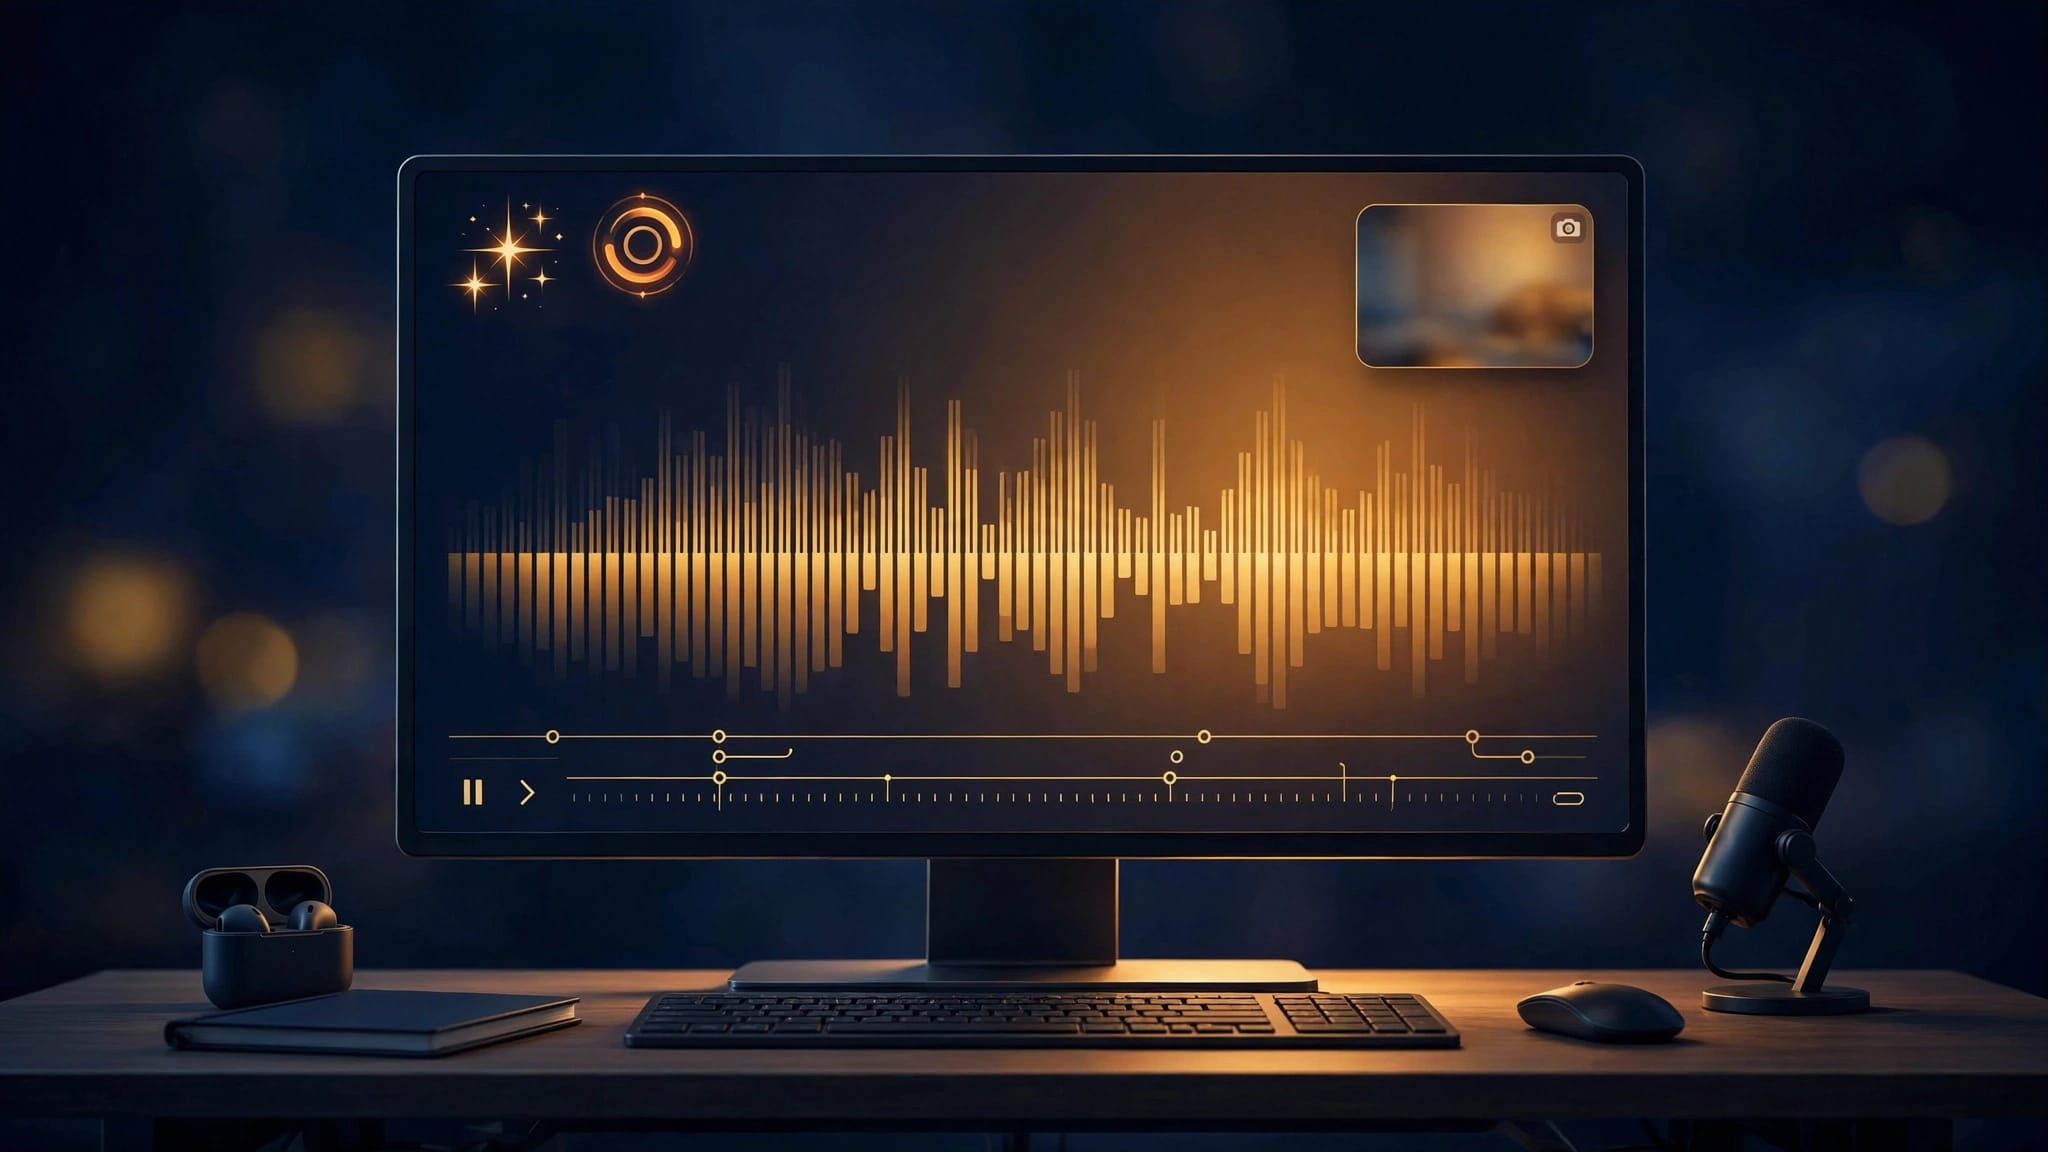
A standard screen recorder captures your display through screen capture. An AI screen recorder adds help after you press stop, such as automatic transcription, automatic captions, automatic zooms, or automated trimming. Features vary by tool and plan, so check what’s included before recording a full lesson.
If you want to see a screen-and-webcam setup in action, this Loom walkthrough is a useful starting point:
Recording and Editing Are Different Jobs
Browser-based tools are convenient when you need to record a quick walkthrough and share a link. Loom’s screen recorder lets you capture your screen, webcam, or both. A chrome extension is available with some recorders, but availability varies.
A fuller video editor gives you more control over what happens next. Descript supports text-based editing with a transcript, while Camtasia offers hands-on visual editing. More controls can help with a course, but they also take longer to learn.
The Transcript Is Where AI Helps Most
Speech-to-text software turns your narration into an editable transcript. Depending on the tool, you can use it to find a section, make captions, or identify words and pauses to remove. Some tools also offer natural language search to help locate a section.
That doesn’t mean you should accept every suggested cut. A pause might give viewers time to find a button. Keep the moments that help someone follow along, even if an automatic editor wants to trim them.
Choose a Tool That Fits the Video You’re Making
Before comparing screen recording software feature lists, decide where the tutorial will go. A private answer for a customer has different needs than a public YouTube lesson or a reusable training video.
For Quick Answers, Keep Sharing Simple
Loom is a practical fit when you need to record a process and share it quickly. Its chrome extension can help with customer support fixes and product demos. It also works for sales enablement, such as walking a customer through a setting.
ScreenPal combines recording and editing, with plans for individuals and teams. Compare sharing, export, and editing options, including whether automated trimming is available. Don’t choose a tool only for its AI feature list.
For Lessons You’ll Reuse, Check Editing Control
For a series of software tutorials, small corrections can save you from recording everything again. A transcript-based video editor such as Descript can use automatic transcription and text-based editing to cut spoken sections. Some tools also offer natural language search to find a phrase in the transcript.
Screen recording differs from generating a video from a written idea. AI avatars or voice cloning may suit presenter-led generated content, but they don’t capture real app interactions. If your project needs stock clips and generated scenes rather than a live software demonstration, the InVideo beginner’s guide for YouTube covers that workflow. For a tutorial about real buttons and settings, record the actual app your viewer will use.
Prepare a Tutorial That’s Easy to Follow
You don’t need a perfect script. Write down the result you’ll show, then list the few actions needed to get there. For example, a tutorial on changing notification settings should show the starting screen, the setting to open, the choice to make, and how to confirm it worked.
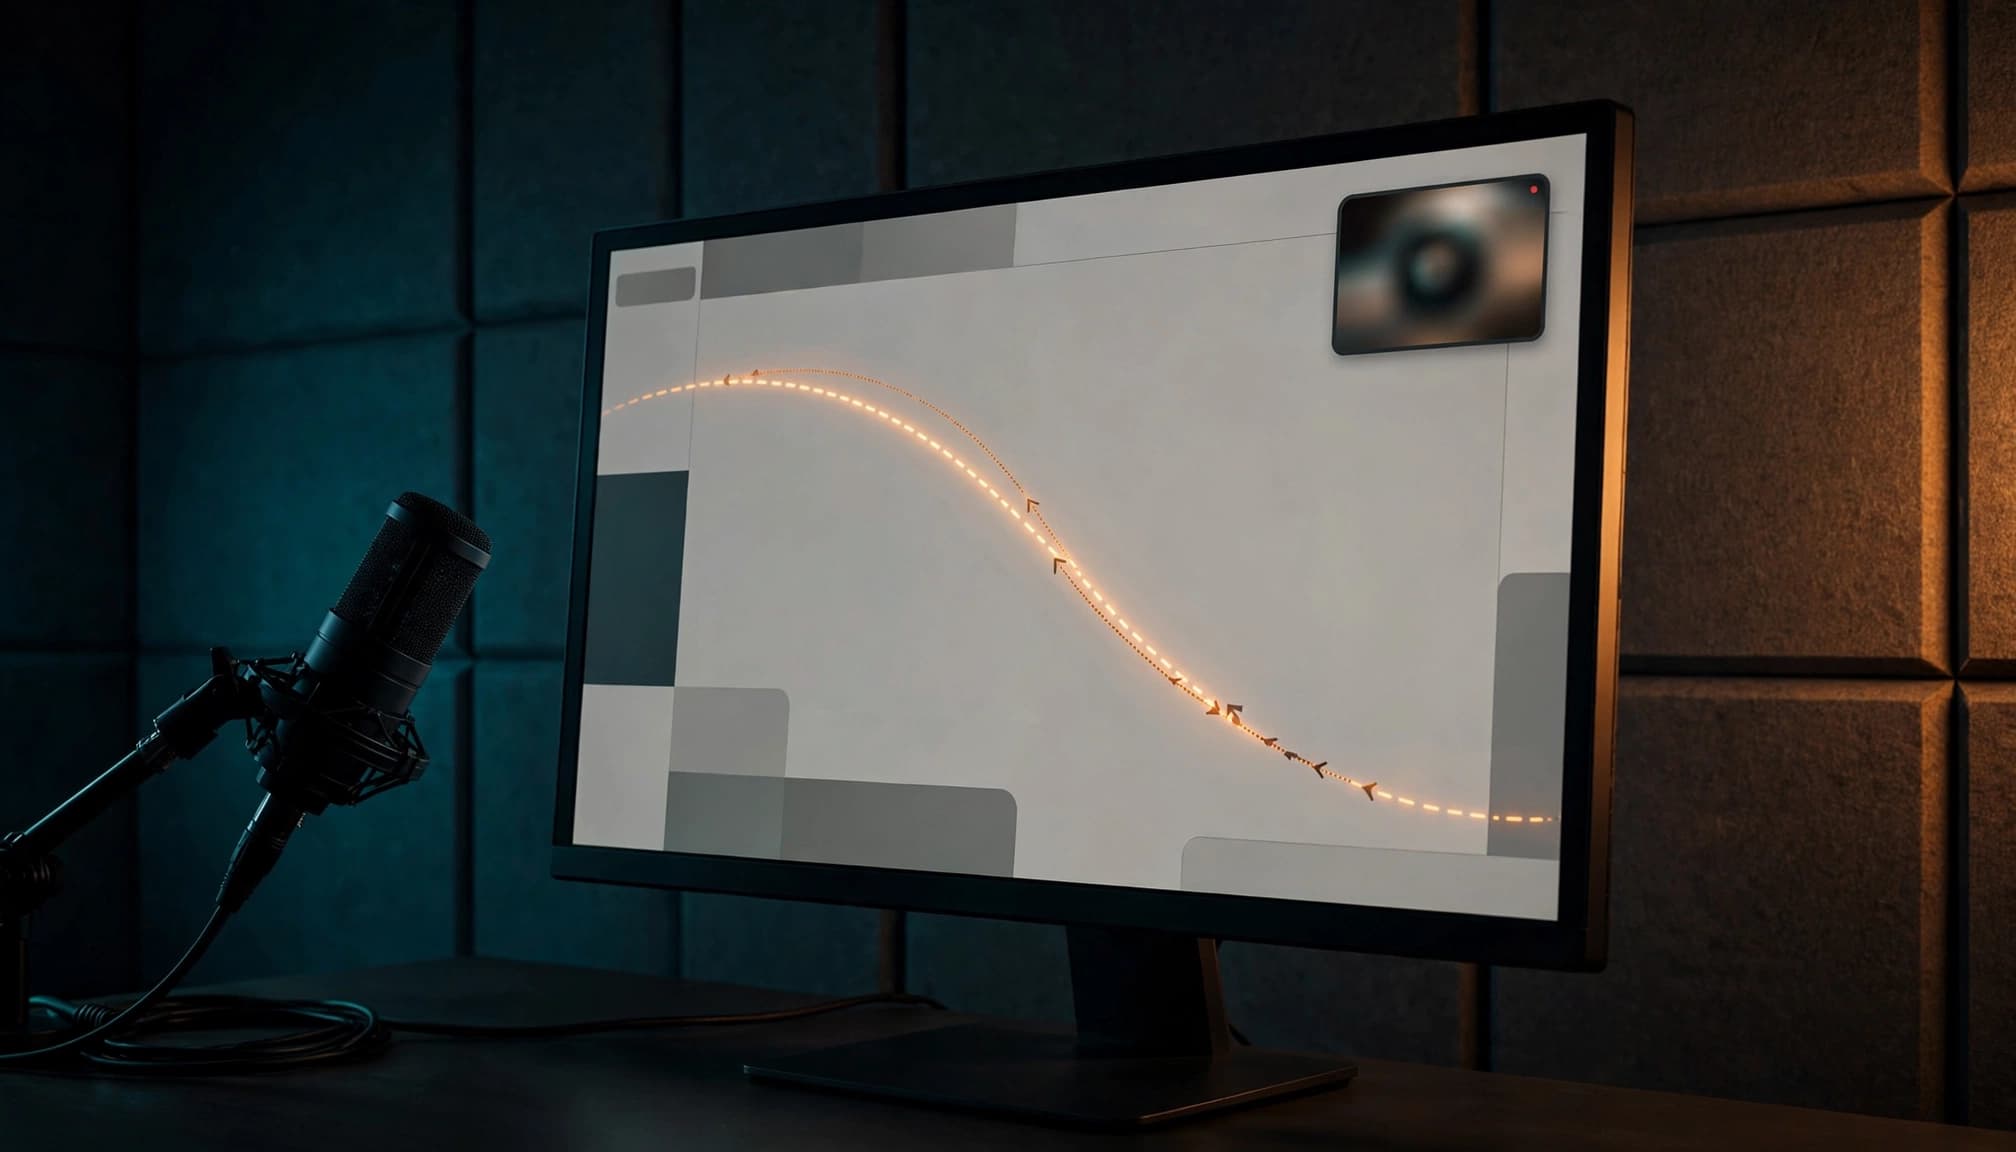
Clear the screen before recording. Close unrelated tabs, hide personal messages, and use sample data if customer information might appear. Increase your display size or browser zoom until menus are readable in the finished video. If you plan to show your face, place the webcam preview where it won’t cover the controls.
Rehearse the steps once without recording. You’ll spot slow-loading pages, surprise pop-ups, or a menu that moved since you last used it. Then write a simple opening line that tells viewers what they’ll be able to do when the video ends.
Record Your Screen, Voice, and Optional Webcam
Your voice does most of the teaching. The webcam is optional. If your face adds warmth or helps a customer recognize you, include it. If it covers important screen details, leave it off. Webcam background blur can reduce visual distractions, but it won’t hide private information on your screen.
Check Your Inputs Before the Full Take
Choose the right display or app window, microphone, and camera in the recorder. Make a short video recording, then play it back. Check audio clarity, cursor visibility, and whether the picture matches what you’re saying.
If the recorder offers automatic transcription, check it after listening to the test clip. A transcript can help spot missed words, but it doesn’t replace listening to the audio yourself.
Some tools can capture screen, webcam, and microphone together. Don’t assume every setup stays in sync automatically, especially if you’re using separate devices. A test recording is much easier to fix than a finished lesson with missing audio.
Teach One Action at a Time
Move the cursor to the control you’re discussing before you explain it. Click, pause briefly, and let the next screen appear. Speak in the order viewers need to act.
If you make a mistake, pause and repeat the sentence or step. You can remove the extra take later. This is often faster than stopping the recording every time a word comes out wrong.
Use AI Editing Without Losing the Lesson
The first edit should remove distractions: a false start, a long wait, or a section where you opened the wrong menu. Background noise removal can help with minor audio distractions, but it won’t fix a poorly recorded lesson. Then use AI for smaller jobs.
Review Filler Words and Silence Cuts
Some tools use automatic transcription to flag spoken hesitations and suggest automated trimming. Review each suggestion in your video editor. Text-based editing lets you remove matching audio or adjust the gap. Descript’s filler-word controls cover English transcripts, so check language support if you teach in another language.
Listen to every cut before publishing. Removing every breath or pause can make a lesson harder to follow. Keep a short pause after a complicated click, and restore any word the software identified incorrectly.
Fix Captions and Use Zooms Sparingly
Automatic captions are a first draft. Check product names, prices, menu labels, and instructions that could change meaning. Proofread video translations and product terminology too. Loom’s transcription and closed-caption guidance explains how its captions use the video transcript.
If your editor offers automatic zooms, use them to show a small control that viewers might miss. Check their timing and framing at normal speed. A zoom that arrives after the click won’t help. Keep the cursor and the menu it opens in view.
Export and Share a Video People Can Use
Play the finished tutorial once with sound and once without it. With sound on, check the pacing and listen for abrupt edits. With sound off, make sure the captions and screen actions still make sense.
Export a short test before committing to a longer project. Check for a watermark, a resolution limit, and whether automatic transcription, captions, and any needed subtitle files are included in the export.
For a team tutorial, check who can open the link and whether viewers need an account, especially for remote teams sharing the video. Remove private information before sharing, and review the tool’s storage, retention, and access settings against your team’s rules. If you plan to record often, find out where old videos will live in cloud storage and who can delete them.
Compare AI Screen Recorder Costs Before You Subscribe
A free recording tool isn’t always a free publishing workflow. Video length, export quality, AI credits, and the number of people using an account can change the cost.
These published plan details give you a starting point for comparison. Check the current checkout page before paying, since features and billing terms can change.
| Tool | Free starting point | Paid pricing to check |
|---|---|---|
| Loom | Starter is $0, with 25 videos per person and a five-minute recording limit. | Business is listed at $18 per user/month; Business + AI at $24 per user/month. |
| Descript | Free includes 60 media minutes per month, 100 one-time AI credits, and watermarked 720p exports. | Hobbyist is $24/month when billed monthly, or $16 per person/month when billed annually. |
| ScreenPal | Recording is available without starting on a paid plan. | Plans shown include $4/month for fuller capture and editing, and $10/month for a tier with AI tools, billed annually. |
The biggest difference is what the plan measures. Descript lists media time and AI credits separately on its pricing page. A plan can have enough recording time for your tutorials but too few credits for the AI features you use most. Loom’s plan comparison is worth checking if your videos often run past five minutes. ScreenPal’s plan details show which editing and AI options sit in each tier.
For a small team, multiply any per-user price by the number of people who need access. Also ask whether you need downloads, shared storage, or private viewing controls. Run one typical tutorial through a free plan first. That will tell you more about your likely costs than a list of features you may never use.
Key Takeaways
- Pick one task and record the real steps your viewer needs to see.
- Test your microphone, screen, and webcam setup before the full recording.
- Use AI to draft captions and suggest edits, then review the result yourself.
- Compare plan limits and billing terms before paying for extra features.
If you’re exploring other ways to make videos, this guide to AI tools for video creation and editing can help you separate screen recording from generated-video options.
Frequently Asked Questions
Can I Make a Tutorial Without Showing My Face?
Yes. A screen recording with clear narration is enough for many software tutorials. Choose the microphone and screen as your inputs, then check that the cursor and any small controls are easy to see.
Do I Need to Write a Full Script?
Usually, no. Start with a brief outline of the outcome and the steps. Write exact wording only for details that must be accurate, such as a price, setting name, or instruction viewers need to repeat.
Can AI Remove Every Awkward Pause Automatically?
Automated trimming can suggest silence cuts, but review every suggested edit. Trim pauses during loading, but keep ones that give viewers time to find a setting or follow a step.
Is a Free Screen Recorder Enough for YouTube Tutorials?
It can be enough for a short first video. Before you build a series, check the recording limit, watermark rules, export resolution, and caption options for the plan you’ll use. These details matter more than the word “free” on a pricing page.
Make the First Video Useful, Then Improve It
Your first tutorial doesn’t need elaborate editing. It needs a clear task, readable screen, and voice that guides someone through each click.
Record a short walkthrough, let AI make a first pass at captions, cleanup, and automated trimming, then check each edit yourself. Watch the finished tutorial as a learner. That final review is what turns a quick screen capture into a helpful lesson.
