



A great AI character can make your posts feel like part of the same brand. A random-looking face in every image does the opposite. If you want a recognizable AI character for Instagram, TikTok, Pinterest, or YouTube, you need a simple system before you start generating.
The good news is you don’t need to be overly technical. You do need to save your best references, use artificial intelligence tools with clear prompts, and check every image before posting.
Why AI Characters Change Between Images
AI image tools don’t remember your character like a real photographer would. Each new image is a fresh generation, making character consistency difficult even with a similar prompt.
That is why faces, clothes, body shapes, and small details can suddenly change. You might get the perfect lifestyle image one day, then a completely different person in the next post.
A text prompt is helpful, but it is not a face lock
A prompt such as “young woman with dark hair in a coffee shop” gives the AI a direction. It doesn’t define an exact identity.
Small prompt changes can affect the result more than you expect. Adding a new hairstyle, camera angle, lighting style, or outfit can produce a different face.
This is also why a prompt with too many ideas often creates messy results. Keep the character details stable, then make small changes to the scene.
Reference images improve character consistency
A clear reference image gives the AI something visual to follow. A written character reference can also reinforce facial features, hairstyle, clothing colors, and other identity cues.
Still, no AI image generator guarantees perfect identity consistency. For better identity preservation, use a clear master portrait, keep prompts stable, and change one variable at a time.
Test difficult angles separately, then reject or regenerate weak outputs. Side angles, busy scenes, hands, glasses, and unusual poses can still cause problems.
The goal is not a perfect clone in every image. The goal is a character your audience recognizes right away.
Build a Character Bible Before You Generate
A character bible is a simple document that keeps your AI character on track. Think of it as a reusable character sheet for your character design. It can be a Google Doc, Notion page, Canva design, or folder on your computer.
Think of it as the rulebook for your character. When you want consistent AI characters over weeks or months of posting, this saves a lot of trial and error.
Start with one approved master image
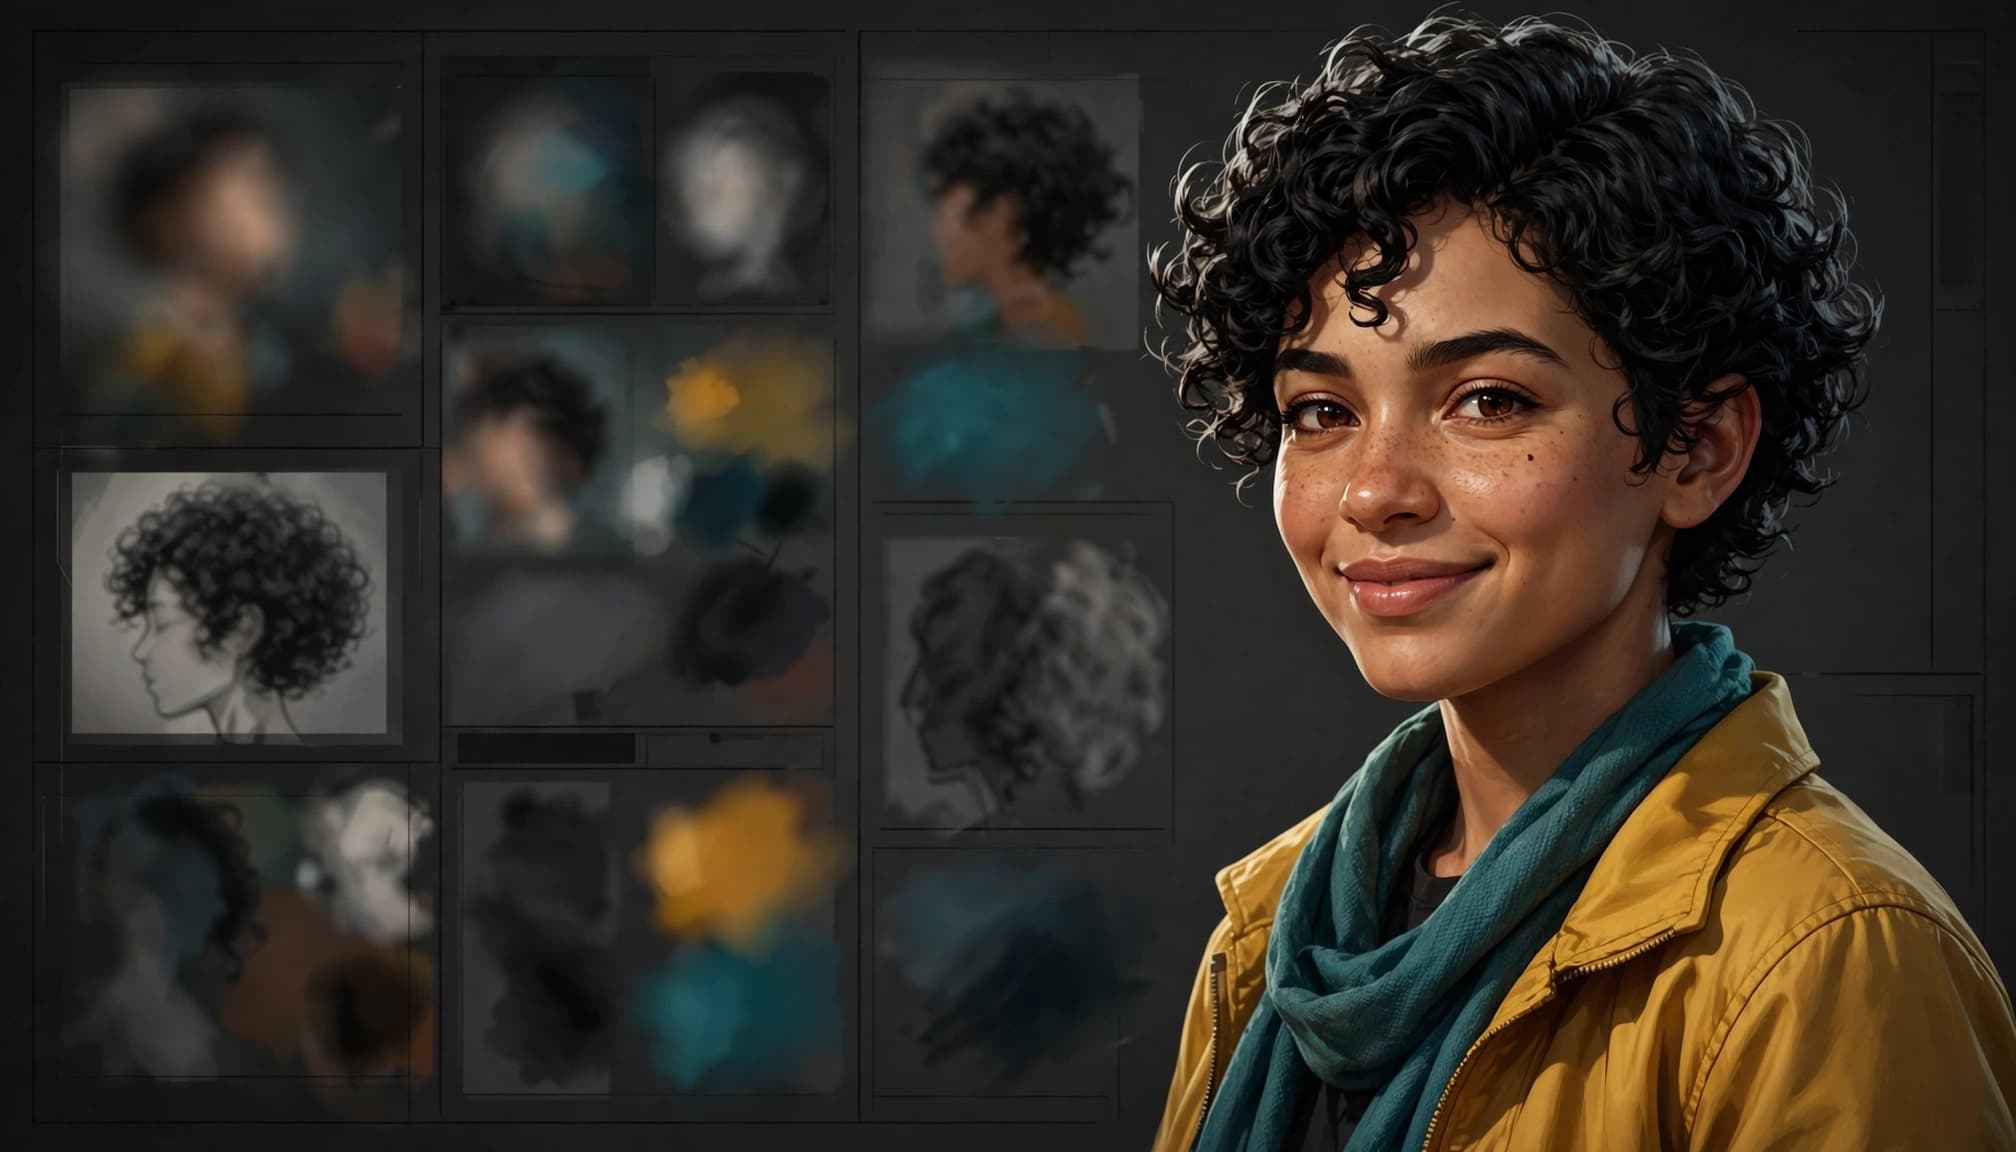
Generate several portrait options first. Pick one with a clear face, natural eyes, realistic skin texture, and a recognizable hairstyle.
A front-facing or three-quarter portrait is usually the best starting point. Avoid references where the face is partly hidden by sunglasses, hair, a phone, or heavy shadows.
Save the full-size original as your approved reference image. It becomes the central character reference for future generations. Don’t rely on a screenshot from Instagram or TikTok. Compression can make the image less useful later.
Add fixed details that should not change
Your character bible doesn’t need to be fancy. It needs to be clear enough that you can reuse it every time.
Include these details:
- The character’s age range, skin tone, face shape, facial features, eye color, hair color, hairstyle, and signature marks.
- Their usual clothing style, such as neutral streetwear, fitness clothes, smart casual outfits, or colorful creator looks.
- A small color palette for outfits, backgrounds, and props.
- Their personality and content role, such as travel creator, fitness coach, book reviewer, virtual model, or business mentor.
- Approved images for front view, three-quarter view, close-up, full body, and a neutral expression.
The same documentation can support professional headshots or illustrated storybook characters. Adapt the visual details to the style you choose.
For example, your fixed description could be: “Woman in her mid-20s, warm brown skin, short dark curly bob, brown almond-shaped eyes, small beauty mark below left eye, relaxed smile, mustard jacket, teal scarf, natural lifestyle photography.”
For more help getting details into your prompts without making them confusing, use this free AI image generation guide.
Use a Repeatable Prompt System
Once you have a character bible, stop writing a completely new prompt for every post. Keep the identity section of your text prompt verbatim, and change only the content section.
This supports character consistency by giving the AI fewer chances to alter your design. It’s simple prompt engineering, not a guarantee that identity will stay locked.
Keep the character details in the same order
Start every prompt with the same identity description. Then add the pose, scene, mood, approved outfit, lighting, and social format.
Here is a simple prompt structure:
[fixed character details], [pose], [location], [outfit if approved], [lighting], [visual style], [aspect ratio]
For example:
Woman in her mid-20s, warm brown skin, short dark curly bob, brown almond-shaped eyes, small beauty mark below left eye, relaxed smile, mustard jacket and teal scarf, sitting at an outdoor cafe table, early morning city street, soft natural light, realistic lifestyle photography, vertical composition, 4:5 aspect ratio
When you want a fresh post, keep the identity block in the same order and change the scene details:
Woman in her mid-20s, warm brown skin, short dark curly bob, brown almond-shaped eyes, small beauty mark below left eye, relaxed smile, mustard jacket and teal scarf, walking through a weekend farmers market, holding a canvas tote bag naturally at her side, warm daylight, realistic lifestyle photography, vertical composition, 4:5 aspect ratio
The face, hair, beauty mark, and outfit colors stay fixed. The market scene, pose, and lighting change.
Use negative prompts when your tool supports them
Negative prompts tell the model what you don’t want. They can reduce common artifacts, but they won’t solve identity drift.
Try adding: different person, different hairstyle, changed eye color, extra fingers, distorted hands, blurred face, waxy skin, duplicate person, text, logo, watermark
Some tools don’t offer negative prompts. In that case, keep the main prompt shorter and reject poor results instead of trying to rescue everything.
When available, save the seed, model or version, aspect ratio, and other generation settings. These details can improve repeatability, but they vary by tool and don’t guarantee the same face.
Save your winning prompts in a document. Tracking what works is much easier than guessing later.
Choose the Right Tool for Your Workflow
There are two main paths. You can use a reference-image workflow for quick social content, or build custom models with LoRA training for more control.
A LoRA is a small trained model that teaches an image generator a certain person, character, object, or visual style. It can be powerful, but it takes more time than uploading one good image.
| Workflow | Best for | What to expect |
|---|---|---|
| Reference-image tools | Beginners and fast social posts | Easier setup, good for regular image variations |
| Style reference tools | Keeping colors and visual mood similar | Better style continuity than exact face matching |
| Custom LoRA training | Large campaigns and long-term characters | More setup, stronger control, more testing needed |
The methods in this table work across platforms. The features below are tool-specific and may change over time.
Midjourney for fast reference-based variations
Midjourney’s Version 7 currently uses Omni Reference for characters, objects, and other visual subjects. Upload one approved reference image with --oref, then adjust how strongly it follows that image with --ow.
According to Midjourney’s Omni Reference documentation, --ow can range from 1 to 1,000, with 100 as the default. These settings are current, tool-dependent behavior. A higher value may preserve the character more closely, but it can make major pose or wardrobe changes harder.
A dedicated character reference feature is intended for identity preservation. Start with a moderate setting and test several options before generating a full month of posts.
Firefly and visual style references
Adobe Firefly can use reference images for styling, which is useful when you want a similar color feel, lighting mood, or illustrated look across a campaign.
That differs from a dedicated identity system. A style reference mainly carries color, lighting, and mood, while a strong character reference and fixed written description support character consistency.
These feature limits can change, so check the current settings before using them in a production workflow. If you use images for clients, ads, or monetized accounts, check the current terms first. Adobe notes that commercial use can depend on the feature and its status, so don’t assume every new feature has the same rules.
LoRA training for long-term character projects
ComfyUI and Kohya are common choices for creators who want to train a custom LoRA. This ComfyUI workflow makes sense when a character appears in dozens of scenes, products, outfits, or story posts.
Custom models are worth the setup when you need repeatable results across a large campaign. A compatible image generator can fine-tune from a carefully curated dataset, then you can fine-tune the model further through testing.
Community guidance often suggests around 10 to 30 good images. Many creators find 20 to 25 varied images a useful starting point. Quality matters more than uploading 100 similar selfies.
Use clear photos with different angles, expressions, lighting, full-body shots, and suitable professional headshots. Do not mix multiple people into the training set. A messy dataset can teach the model the wrong face, outfit, or background.
LoRA training can improve character consistency, but it doesn’t guarantee perfect character consistency. Test the model across poses, outfits, and environments before relying on it for a full campaign.
Adapt One Character for Every Social Format
You don’t need separate characters for every platform. You need character consistency, with content planned around each crop. That creates visual consistency across your feed.
Generate the main image first. Then create vertical, square, and wide versions without changing the identity description.
If your platform supports it, add a style reference to preserve the mood or color palette. It should support the identity reference, not replace it.
Change one visual variable at a time
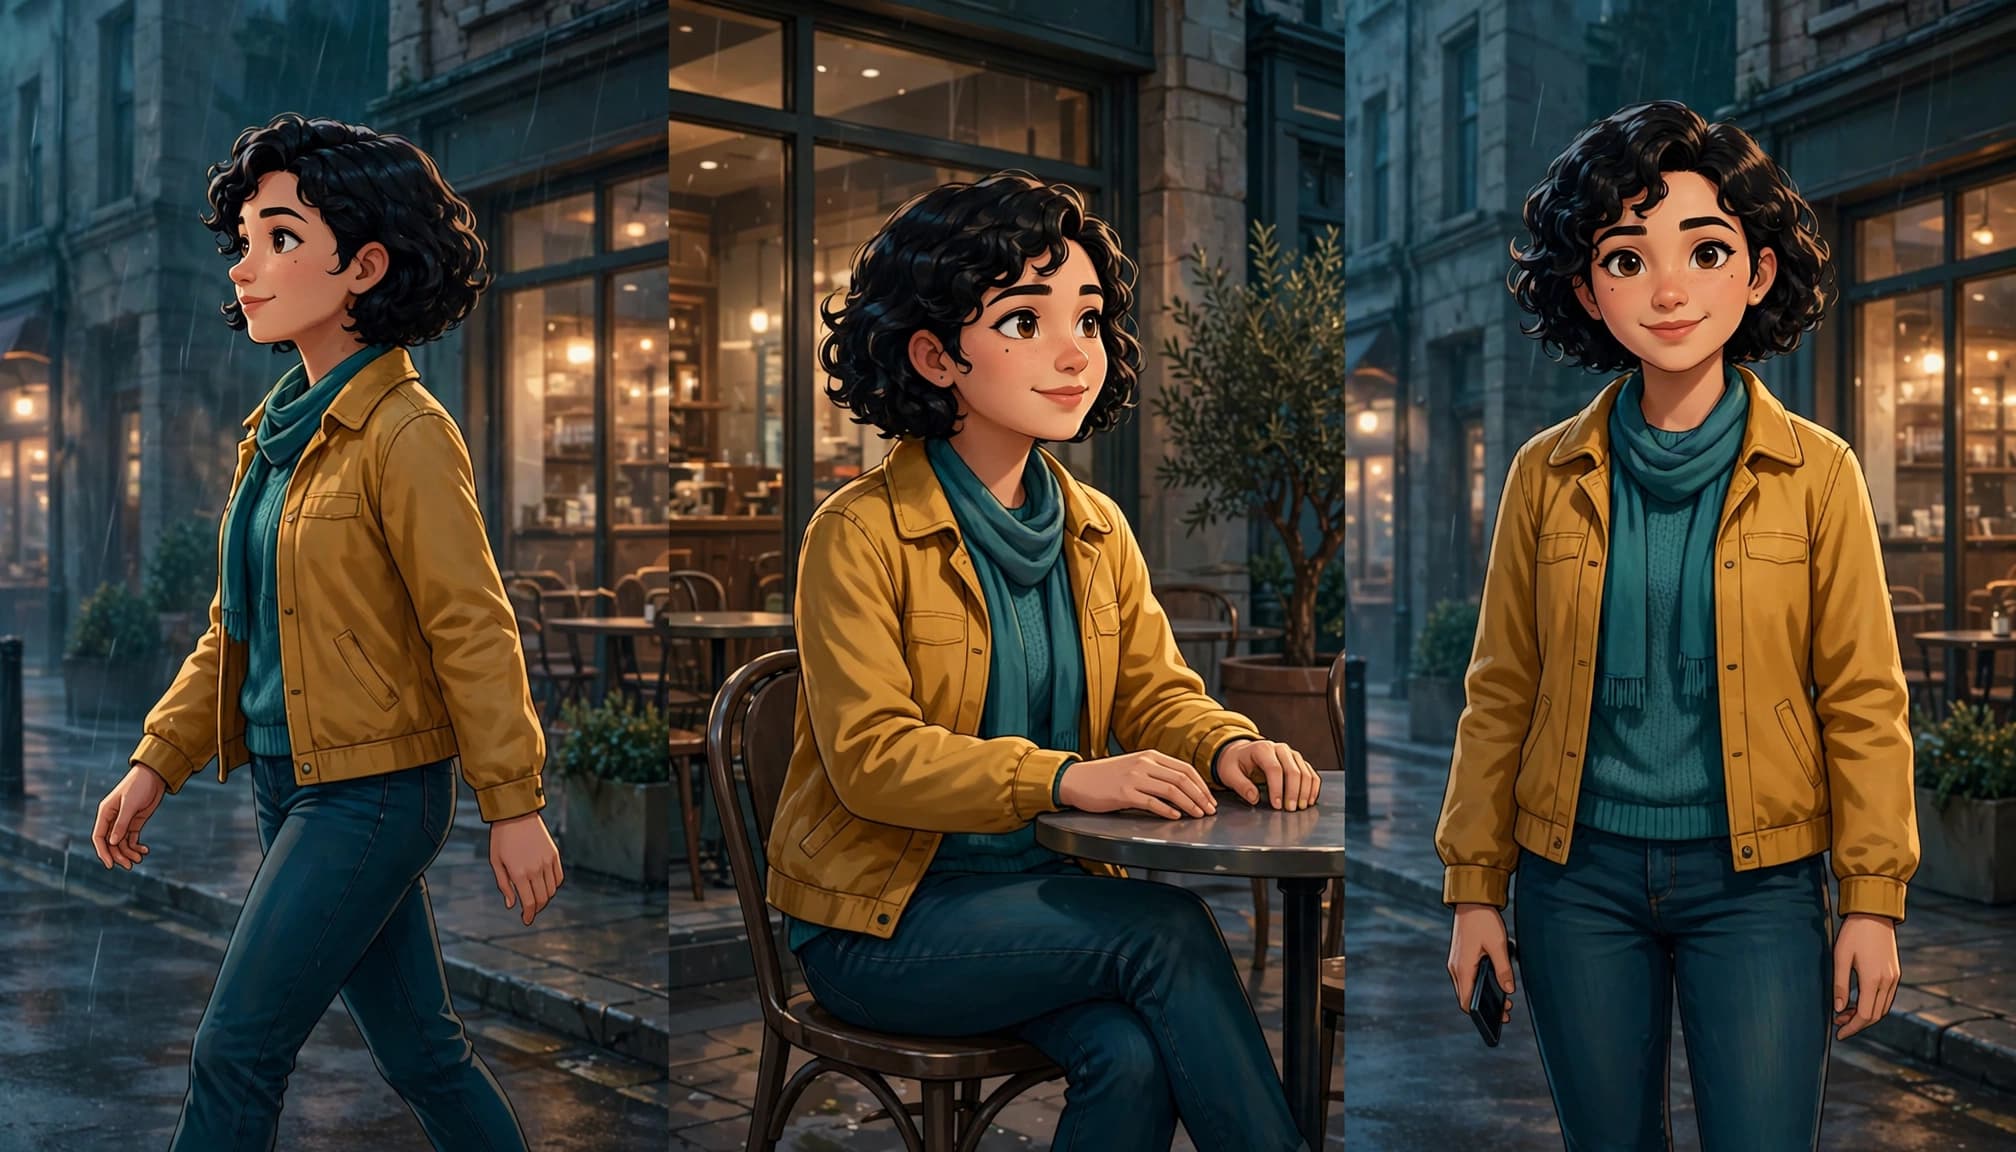
If you change the pose, location, outfit, lens style, and lighting together, the character can drift quickly.
Start with the approved reference. Test pose variations first. Once the pose looks right, try a different background or crop.
For a fitness creator, keep the same face, hairstyle, and gym outfit colors. Then switch between a mirror selfie, treadmill shot, and outdoor walk. For a virtual lifestyle creator, try a cafe, home office, grocery store, and city street.
Plan for Instagram, TikTok, Pinterest, and thumbnails
Use vertical 9:16 compositions for TikTok and Instagram Reels. Leave room above and below the face for platform buttons and captions.
Instagram feed posts often work well in 4:5. Pinterest can use taller vertical pins. YouTube thumbnails need a large face, simple background, and clear contrast.
This approach supports character continuity across Instagram, TikTok, Pinterest, and YouTube.
Keep small objects away from the character’s face. A phone, coffee cup, handbag, or product can look strange when the image is cropped tightly.
If thumbnails are part of your plan, these AI thumbnail makers for YouTube can help you compare beginner-friendly options. Always zoom in and check eyes, teeth, hands, glasses, and background text before exporting.
Turn Still Images Into Short Video Clips
Video generation adds another challenge because temporal stability is harder than matching one still image. Frame-to-frame video consistency matters, so start with your strongest still image before trying talking clips, walking shots, or camera movement.
A strong character reference can guide the video workflow. Keep the first tests short, simple, and focused on preserving the character’s identity.
Kling AI has an Elements workflow that supports reference-based character creation. Its guide says you can use 1 to 4 images for character consistency, depending on the setup. Review the current Kling AI character consistency guide before using it, because features and limits can change.
Keep early video clips simple
A five to 10-second clip with subtle head movement is easier to manage than a dramatic dance scene. Use simple actions like smiling, looking toward the camera, sipping coffee, or turning slightly.
Avoid fast movements, long dialogue, crowded locations, and lots of camera cuts during early tests. These can cause facial changes and strange hands.
Match the still-image campaign
Use the same reference portrait, clothing rules, palette, and background style from your image posts. If the video character suddenly has different hair or a different face shape, your audience will notice.
For faceless accounts and beginner creators, one recurring set of digital personas can make short-form posts feel more connected. You can find more AI models for social media content if you are building a regular posting system.
Fix Common Problems Before You Publish
Good results often come from choosing the best generation, not forcing a weak one to work. Before publishing, compare the output with your approved master as the final identity preservation step. If the face is wrong, regenerate it with a clearer reference before moving on.
Use masks and targeted edits carefully
If only one part of the image is wrong, use a mask or selective-edit tool. Cover the broken hand, background object, clothing area, or face detail, then describe the correction in a short prompt.
Tools may call this inpainting, Magic Fill, generative fill, or a similar name. Features vary by platform, but the idea is the same: edit one problem area instead of regenerating the whole image.
Do not over-edit the face. A small correction can help. Too many edits can create plastic-looking skin or a face that no longer matches your reference.
Run a consistency check before posting
Use this quick checklist before an image goes live:
- Compare the approved master against the output at full size.
- Check facial features, hairline, eye color, beauty marks, and signature wardrobe.
- Zoom in on hands, teeth, glasses, jewelry, and any product being held.
- Confirm the crop works for the platform and does not cut off important details.
- Remove accidental text, logos, watermarks, and copied-looking artwork.
- Verify the tool’s current commercial license before using the image in ads, client work, or paid content.
Key Takeaways
- Build one strong character bible before creating social posts.
- Reuse the same reference image and character description every time.
- Change pose, location, and aspect ratio in small steps.
- Use reference-image tools for speed, and consider a LoRA only when you need deeper control.
- Review every image closely because AI can still change faces and create visual mistakes.
FAQ
Can I use the same character across different AI platforms?
You can, but it takes more than copying and pasting one prompt. Bring the approved reference image, fixed character description, color palette, and best sample images into each new platform.
Results will still vary because each model reads images and prompts differently. Generate a small test batch to compare character consistency across platforms before building a full campaign on a new tool.
How many images do I need for a character LoRA?
There is no one perfect number. A useful range is 10 to 30 high-quality images, with 20 to 25 varied images often giving beginners enough material to test.
Include close-ups, three-quarter portraits, full-body shots, and different lighting. Keep the same person in every image.
Should my AI character wear the same outfit in every post?
Not always. Keep a core wardrobe instead. Use the same color palette, hairstyle, accessories, and overall style, then create a few approved outfits for different content themes.
A travel post, gym post, and home-office post can look different without losing character continuity.
Build Recognition, Not Perfection
The best recognizable AI characters are built through repetition. A clear reference, simple character bible, saved prompts, and careful reviews create stronger character continuity than chasing a perfect one-click tool.
Your audience does not need every image to be identical. They need to recognize the same face, style, and personality each time they scroll past your content.

1 Comment
Pingback: Unlock Your Creativity with Free AI Image Generation - Beginners AI Tools